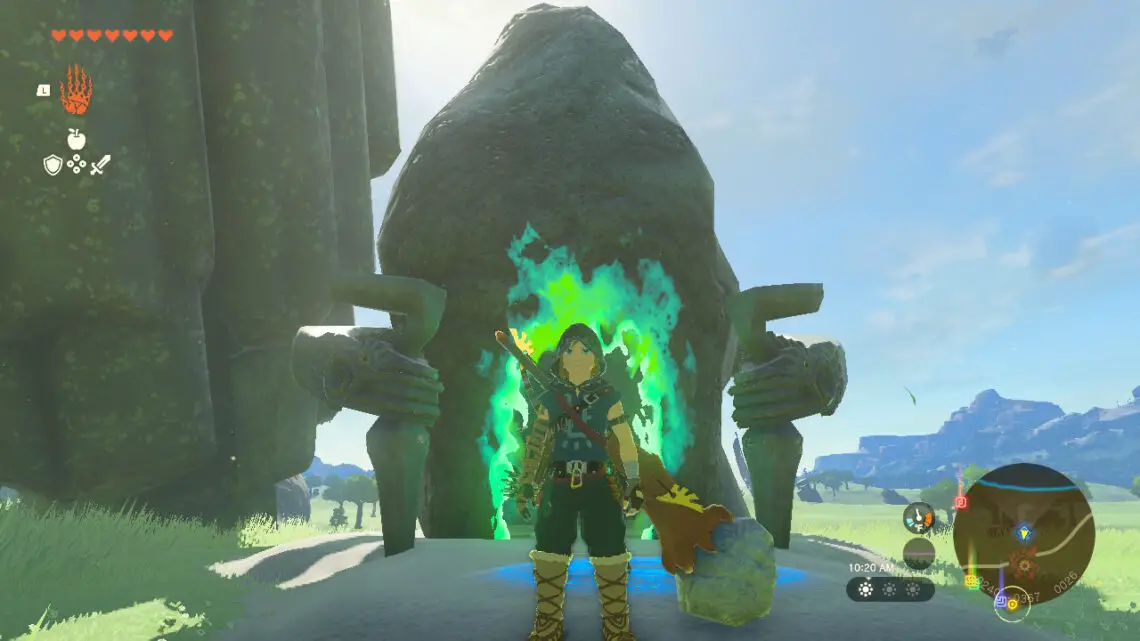
The Joisin shrine in The Legend of Zelda: Tears of the Kingdom primarily revolves around perspective puzzles. To conquer this shrine players will have to get creative with the Ultrahand to rotate various objects. In particular, players must find a way to force several oddly shaped objects through increasingly strangely shaped holes. It can be difficult to wrap your head around some of these challenges but in this guide, we will walk you through it.
Where to Find the Jiosin Shrine in Tears of the Kingdom
The Joishin Shrine is located in the region of central Hyrule due south of Lookout Landing, you will find it just past the giant hole in the ground. If you cross into the next region then you have gone too far. Its coordinates are: -0240, -0370, 0027.

How to Solve the Puzzles of the Jiosin Shrine in Tears of the Kingdom
The beginning is fairly simple. First, enter the room on your left, there should be a big X-Shaped hole in the wall. Once inside you will find an oddly shaped structure, and your objective is to try and move it out of the room with the Ultrahand power. It will not fit through the door so you will have to use the X-shaped hole in the wall. Simply rotate the structure so that you are facing the narrow side which will give the appearance of an X shape. Move the item through the hole and then use it as a bridge to cross the gap blocking your path forward.


Once you are across go to the room on your right there you will find another structure that looks like two cubes stuck together. Once again we want to move this structure through the hole in the wall into the main hallway. Simply rotate the structure 90 degrees so that it is lying on its side with the right block closer to the ground and the left block slightly higher.

The Optional Treasure Chest of Jioshin Shrine
To get the treasure chest all you have to do is reverse the double blocklike structure so that the left side is closer to the ground. Slot the left block into the square-shaped hole in the ground, while positioning the other one at the corner against the wall. You will know if you are successful if it creates a staircase upward.

Your next objective is to get the double-block-shaped structure through the roughly diamond-shaped hole in the wall to the next room. This solution is actually more straightforward than it may first appear, just rotate the blocks so that one is in front of the other, then tilt them about 45 degrees. This should create the silhouette of the hole in the wall and should allow you to push the structure through. From there lay the structure on its side again with the left block touching the ground and the right side slightly elevated and slot the structure behind the step in this room to form a makeshift staircase and you are done.


